
Step by step user guide for Ikomia STUDIO
Testing and evaluating Computer Vision algorithms quickly and easily is one of the main goals of the Ikomia platform. That's why we offer different levels of use, ranging from no-code Computer Vision with STUDIO to low-code with the Python API.
What is it ? Ikomia STUDIO is a graph-based editor that allows you to create custom image processing workflows. You can add algorithms as process nodes, connect them, and you're good to go.
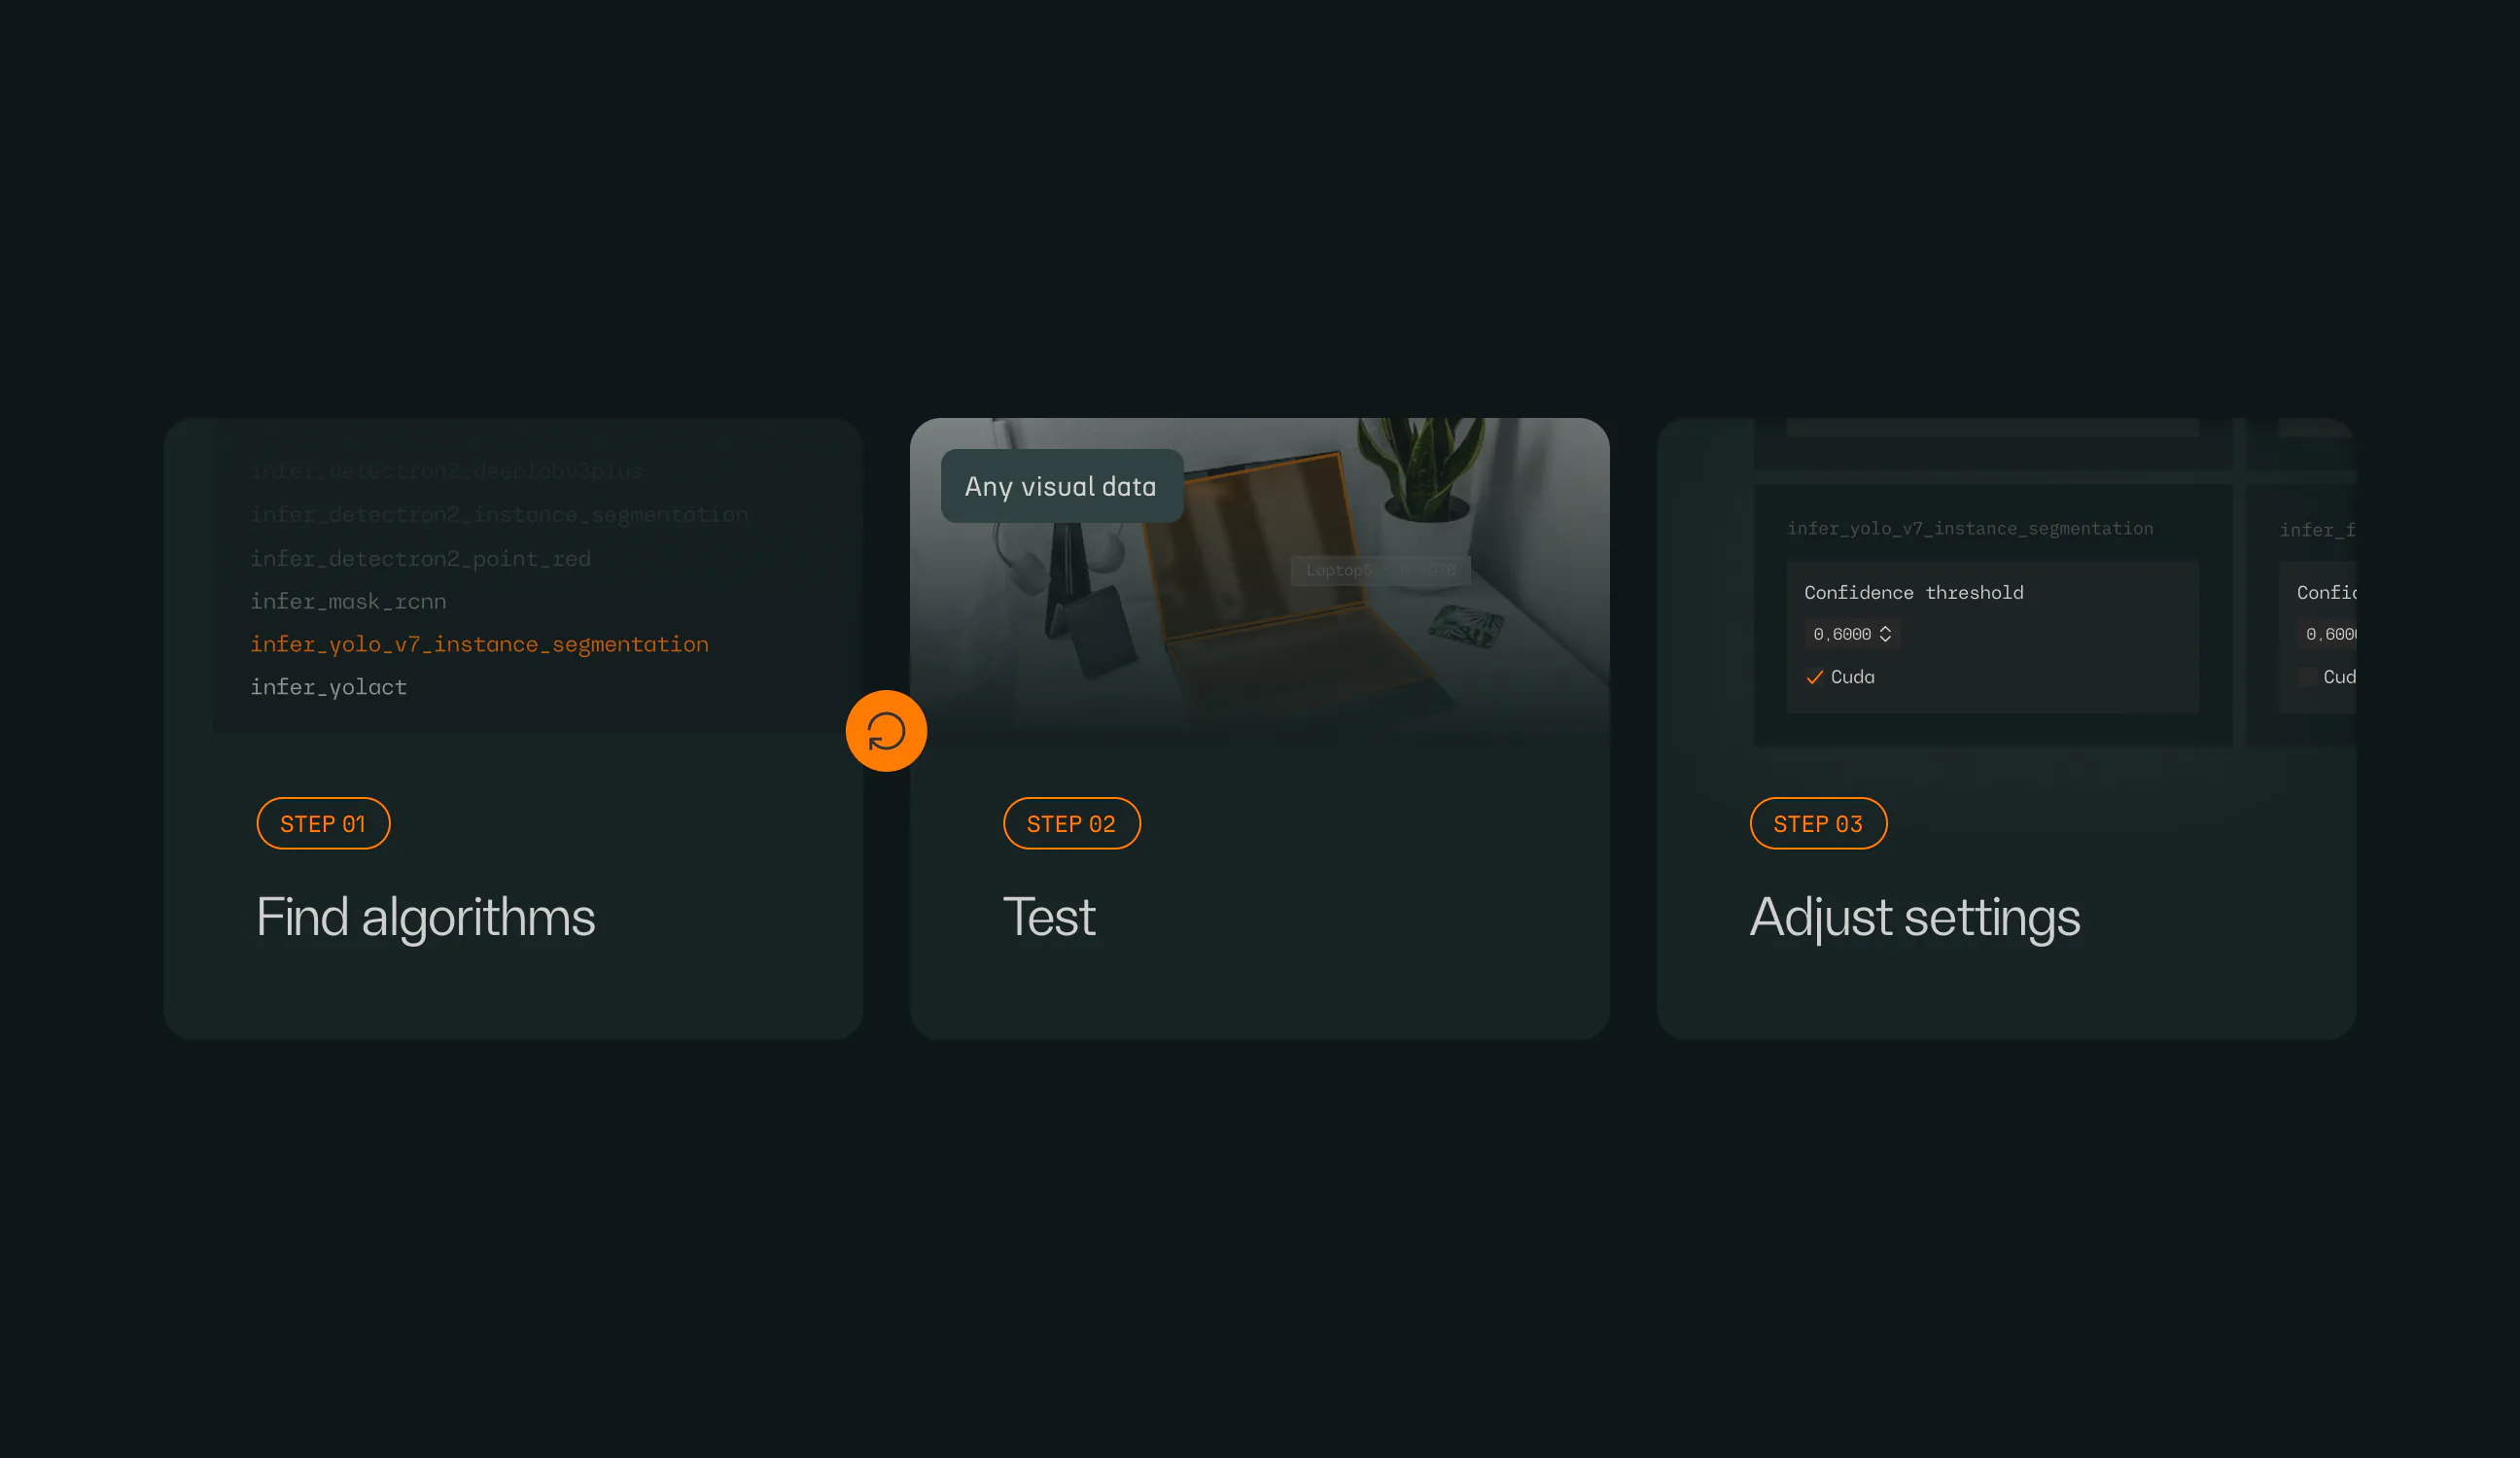
What does it do and how do I get started ? Here are the important features to build your own workflow in a few clicks. Just follow these steps to easily experience the creation of a Computer Vision solution with STUDIO.
If you want to see STUDIO in action, please refer to this blog post or watch this video.
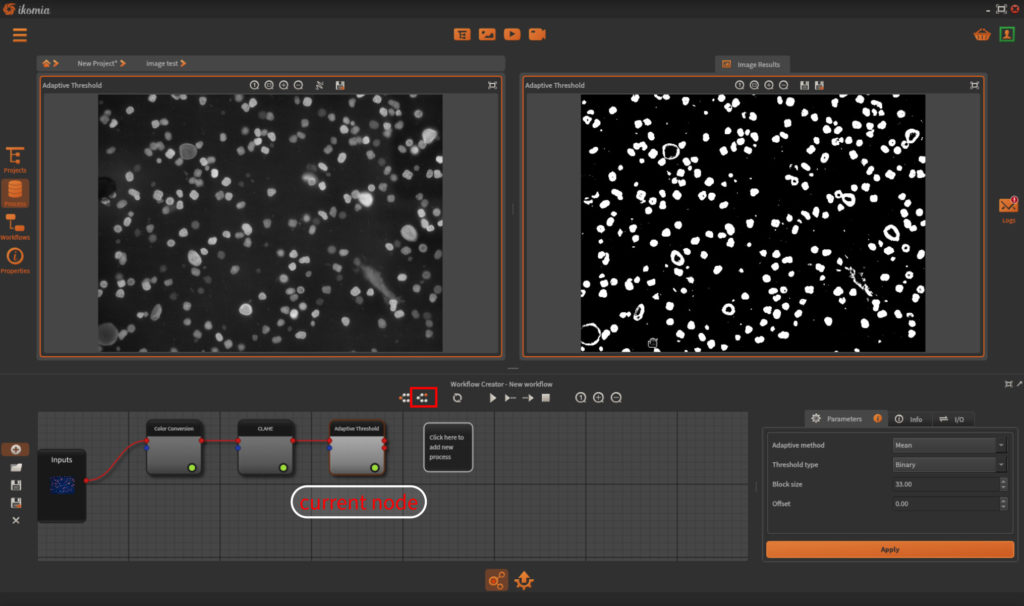
STUDIO processes images or videos that you have already loaded in Ikomia. When you apply the first algorithm to the current data, it automatically creates a new workflow and launches the process. The UI will then show you the original and processed data in a split view.
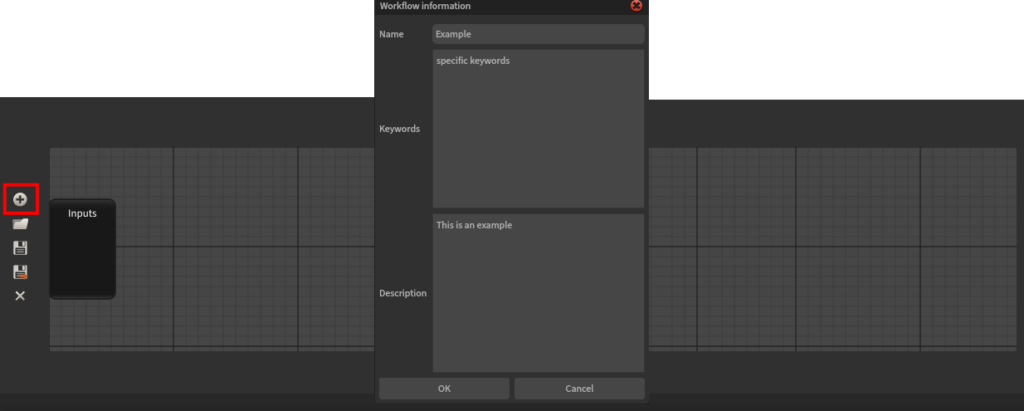
You can start a new workflow even if no data is loaded yet. Simply click on the "New" button located in the left pane of the module and fill in the workflow information as shown below:
Once created, you can add process nodes by selecting an algorithm from the Ikomia HUB or by clicking on the empty node in the editor. The new node is automatically connected to the parent node if possible. The placement of nodes in the editor will be covered in this section You can always adjust the positions and connections manually.
Global inputs are persistent data loaded into a project structure. They represent the source data on which the whole workflow is applied. They are slightly different from input data at node level, which can be generated by previous nodes.
The STUDIO can manage a list of global inputs. By default, you will find only one input slot corresponding to the current data (image, video or camera). This slot is reserved, it can’t be deleted.
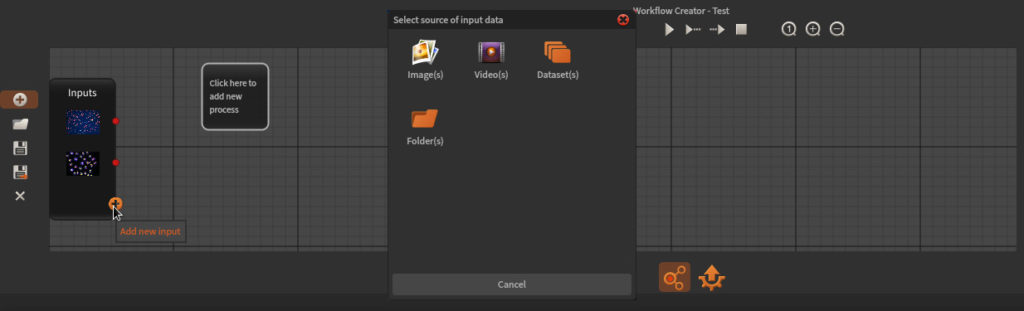
You can easily add a new input by clicking on the + button when the mouse pointer enters the editor input area. Next, select the data type you want to process, it can be one of the following:
Note: you may have noticed the possibility to set data list or containers as global input. This is what we call the Batch Mode. To learn more about it, read the article Discover the batch processing mode.
As mentioned earlier, a node represents an algorithm within the workflow. Therefore, we need to add different nodes and connect them to build a functional pipeline.
An empty node with the label “Click here to add new process” indicates the insertion location of the future node. The editor automatically updates this location based on the current node and the graph structure. The current node is easily identifiable as it appears highlighted and brighter than the other nodes. You can manually change the current node by clicking on the node you want to select.
Each node comes with one or several inputs and can generate outputs (which can be none). To create your workflow, you need to connect the output(s) from parent node(s) to the input(s) of child node(s).
The STUDIO provides an automatic connection system based on data types. It will always consider the current node as the parent node. So you should think checking and updating the current node before adding a new algorithm. For complex scenarios, you may have to create manual connections in the editor by dragging link from source output to target input. Please note that a connection is possible and valid if the data types are the same or compatible. If an error occurs, the notification center will display a message with additional details.
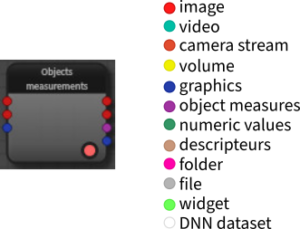
Within a node, colored circles represent inputs and outputs. They serve as the starting or ending points of node connections. The colors indicate the data types. Here is a list of the possible data types:
The module provides several modes to run algorithms across the graph-based workflow:
Reminder: current node appears highlighted and brighter in the editor. See here for details.
The STUDIO utilizes the advanced display capabilities of Ikomia. When the module is active, the main view is divided into two parts: the left side for inputs and the right side for outputs. At any time, the user can maximize the input or output view by double-clicking. In the left part dedicated to inputs, you can find two types of information for the current node.
Specific buttons to activate these modes are available in the top toolbar of the module, as shown below:

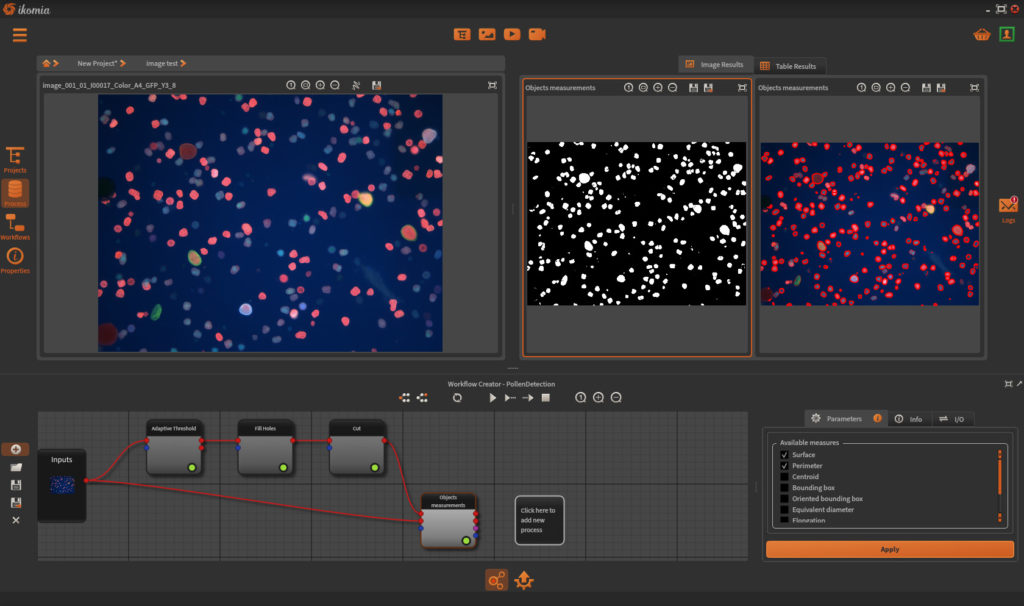
The right part adjusts its view automatically based on the current algorithm outputs. The layout is designed as follows:
Note: the STUDIO updates views each time a new node is selected and becomes the current one.
To complete our module overview, we will focus now on useful information associated with the workflow. You will find it in a multi-tab view located in the right part of the module window.
The STUDIO is a tool dedicated to algorithm testing and evaluation. Hence, tuning parameters is a key feature. To this end, the first tab of the UI element shows parameters associated with the current node. Users can adjust them to analyze the algorithm's behavior.
The information page is also accessible from this tab, providing algorithm description, author(s), associated scientific paper, version number, and various other interesting metadata.
In the second tab, you are provided with basic metrics, including:
Finally, the third tab provides additional information about inputs and outputs. This can help in understanding how the algorithm works and provides explanations regarding input data types.

We have taken a quick tour of the core features of Ikomia STUDIO, so you are now ready to browse and test all the algorithms available on Ikomia HUB. We haven't described all the features exhaustively; we want you to discover the module on your own. Among other things, you will find additional features like saving


.svg)


